Android Studio Installation in Ubuntu

Many of us don’t like to use Ubuntu when we need to install something. You might have some issues while Android Studio Installation in Ubuntu. Here we are to help you. Let’s have a step by step instruction for Android Studio Installation in Ubuntu.
1) I have to Android Studio Installation in Ubuntu and use below link to download Android Studio.https://developer.android.com/studio/index.html
2) Open the Terminal.
Shortcut key: ctrl+alt+t
3) Go to the folder which contains the Android studio setup for “Android Studio Installation in Ubuntu”.
Command: ./studio.sh
A pop up will be shown asking for installation setting and choose any one of them.
After clicking OK button following screen will appear.
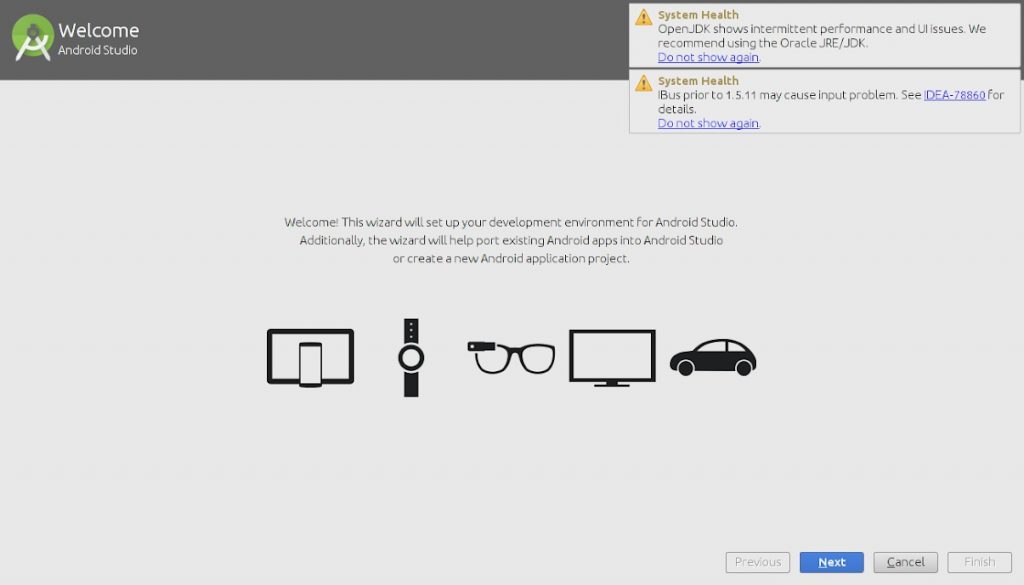
Then click on ‘Next’ button.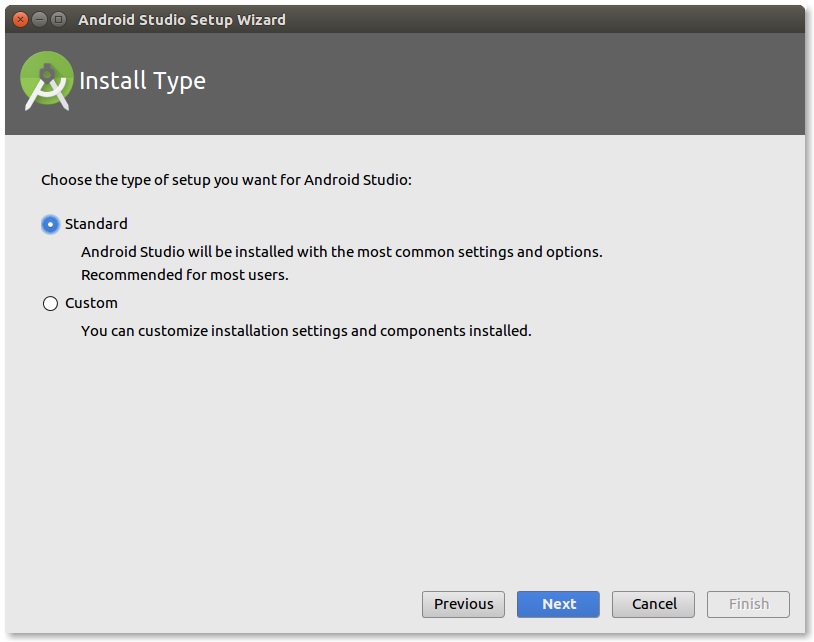
Select ‘Installation type’ and click on ‘Next’ button.
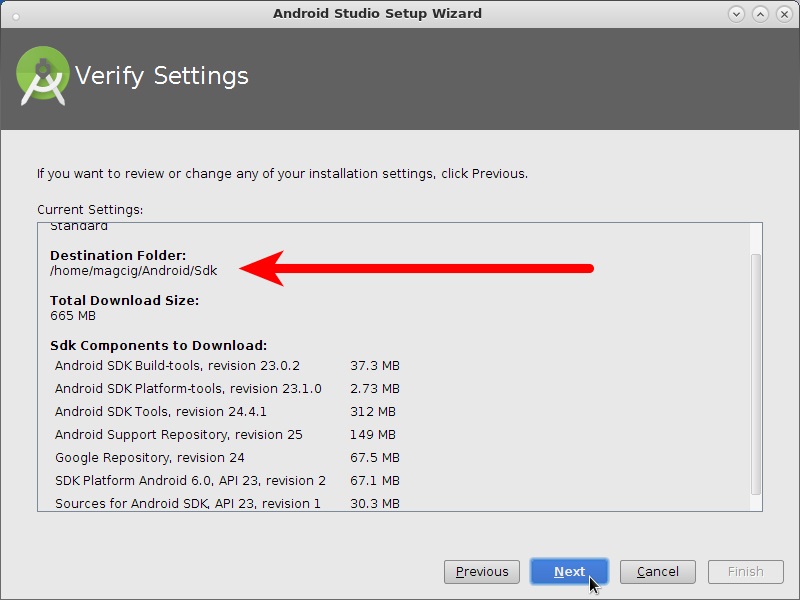
Then verify installation setting, click on ‘Next’ button
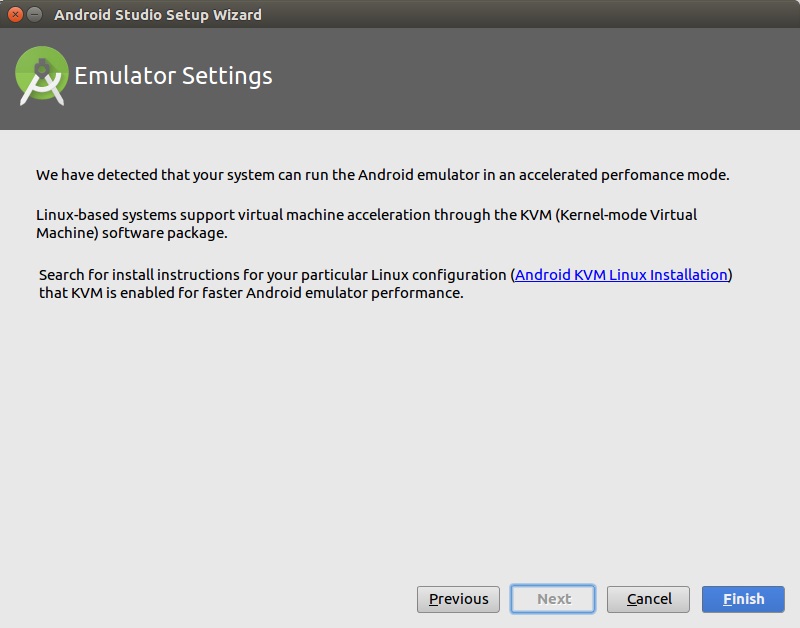
An emulator can also be configured, then click on ‘Finish’ button.
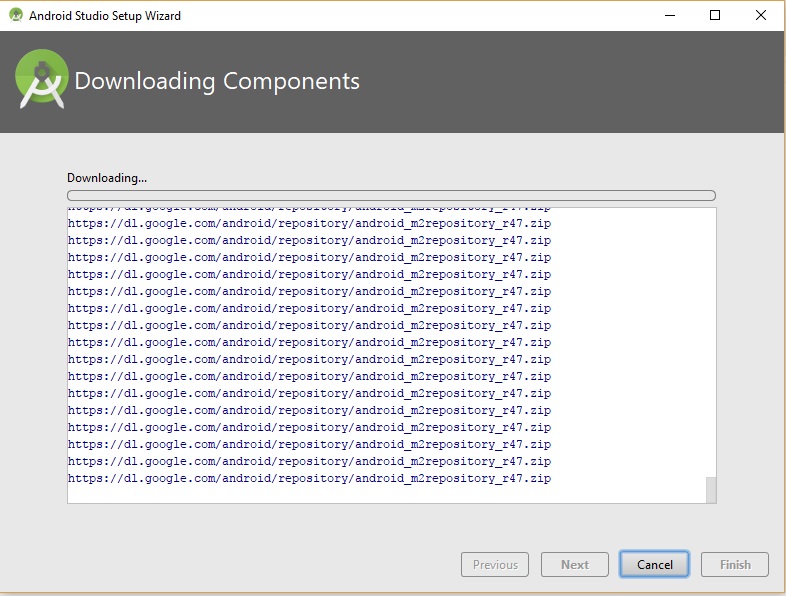
The wizard will start downloading the necessary SDK tools.
If wizard shows any error about Linux 32 bit libraries then use below command
sudo apt-get install libc6:i386 libncurses5:i386 libstdc++6:i386 lib32z1
After this, all the required components will be downloaded and install automatically.
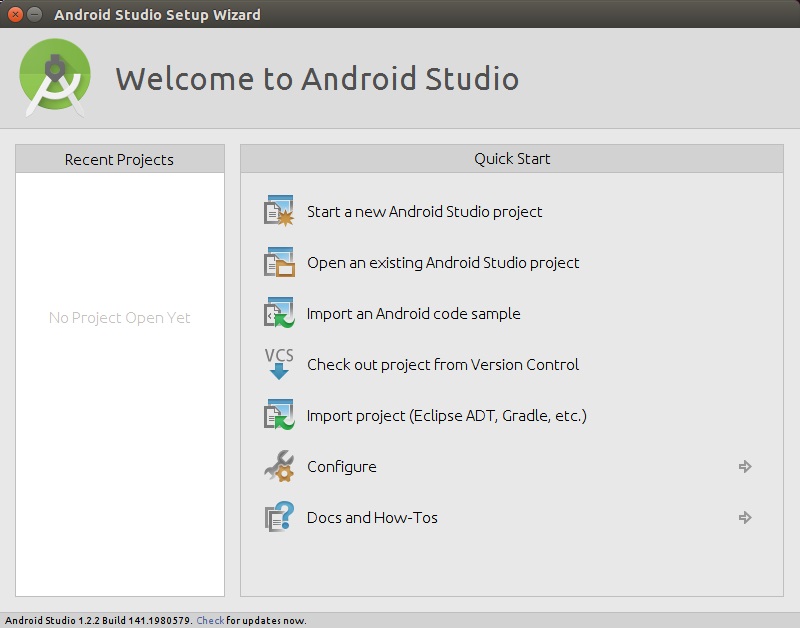
Click on ‘Finish’ button.
To make a desktop icon, go to ‘configure’ and click ‘create desktop entry’
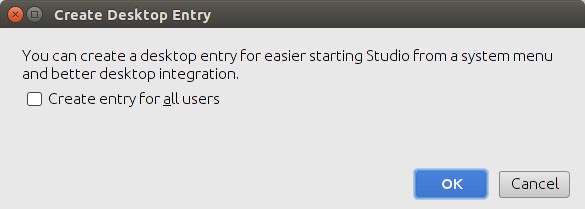
Click on ‘OK’
OR
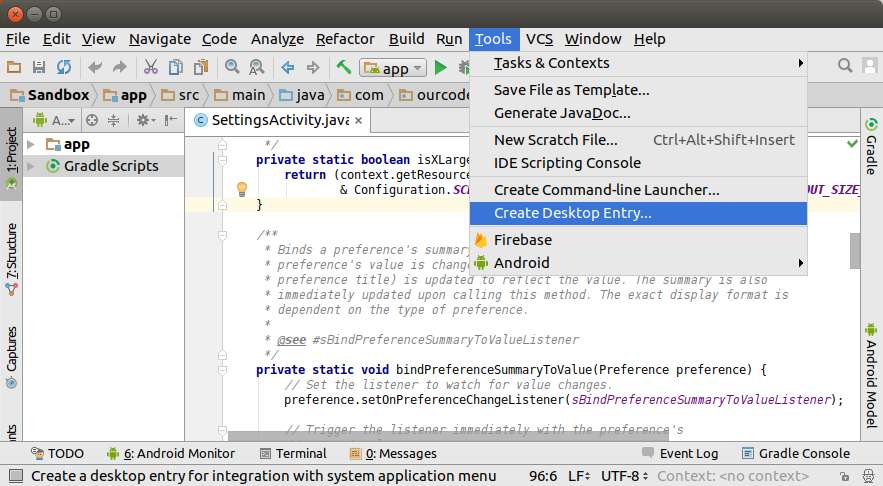
The second type of creating a desktop icon in Ubuntu
Start the Android Studio -> Tools -> Create desktop icon
Enjoy Android Studio.
Happy Coding.
Related Posts